자판기 프로그램은 실제 생활에서 많이 볼 수 있는 기계로, 버튼을 누르면 상품을 제공하는 기능을 가지고 있습니다. 이번 글에서는 HTML, CSS, JavaScript를 사용하여 간단한 자판기 프로그램을 만들어보도록 하겠습니다.
HTML 구조
우선, 자판기 프로그램을 위한 HTML 구조를 설정해야 합니다. 아래는 자판기 프로그램을 위한 HTML 구조입니다.
<!DOCTYPE html>
<html lang="en">
<head>
  <meta charset="UTF-8">
  <meta name="viewport" content="width=device-width, initial-scale=1.0">
  <title>자판기 프로그램</title>
  <link rel="stylesheet" href="style.css">
</head>
<body>
  <div class="container">
    <h1>자판기 프로그램</h1>
    <div class="items">
      <div class="item">
        <img src="item1.jpg" alt="상품 1">
        <button class="buy-button">구매</button>
      </div>
      <div class="item">
        <img src="item2.jpg" alt="상품 2">
        <button class="buy-button">구매</button>
      </div>
      <div class="item">
        <img src="item3.jpg" alt="상품 3">
        <button class="buy-button">구매</button>
      </div>
    </div>
    <div id="output"></div>
  </div>

  <script src="script.js"></script>
</body>
</html>
위 코드는 간단한 HTML 구조로, 자판기 프로그램을 위한 요소들을 포함하고 있습니다. container 클래스는 전체적인 레이아웃을 감싸는 역할을 하며, items 클래스는 상품들을 담는 컨테이너입니다.
각각의 상품은 item 클래스로 정의되고, 상품 이미지와 구매 버튼을 포함하고 있습니다. 마지막으로 결과를 표시할 output 요소도 설정되어 있습니다.
CSS 스타일링
다음으로, CSS 스타일을 적용하여 자판기 프로그램을 꾸며보겠습니다. 아래는 예시로 간단한 스타일을 적용한 CSS 코드입니다.
.container {
  max-width: 600px;
  margin: 0 auto;
  text-align: center;
}

h1 {
  font-size: 24px;
  margin-bottom: 20px;
}

.items {
  display: flex;
  justify-content: center;
  gap: 20px;
}

.item {
  display: flex;
  flex-direction: column;
  align-items: center;
}

img {
  width: 200px;
  height: 200px;
  object-fit: cover;
  margin-bottom: 10px;
}

.buy-button {
  padding: 10px 20px;
  font-size: 16px;
  background-color: #007bff;
  color: #fff;
  border: none;
  border-radius: 5px;
  cursor: pointer;
}

#output {
  margin-top: 20px;
  font-size: 18px;
}
위 CSS 코드는 각 요소들에 대한 스타일을 설정합니다. container 클래스는 가로 폭을 최대 600px로 제한하고 가운데 정렬합니다. h1 요소는 제목 스타일을 정의하며, items 클래스는 상품들을 가로로 나열하도록 설정합니다.
item 클래스는 각 상품을 세로로 정렬하고, 상품 이미지와 구매 버튼 사이에 간격을 둡니다. buy-button 클래스는 구매 버튼의 스타일을 설정하고, output 요소는 결과를 표시할 영역의 스타일을 설정합니다.
JavaScript 동작
이제 JavaScript를 사용하여 자판기 프로그램의 동작을 구현해보겠습니다. 아래는 예시로 구현한 JavaScript 코드입니다.
const items = document.querySelectorAll('.item');
const output = document.getElementById('output');

items.forEach((item, index) => {
  const button = item.querySelector('.buy-button');
  button.addEventListener('click', () => {
    const itemNumber = index + 1;
    output.textContent = `상품 ${itemNumber}을(를) 구매하였습니다.`;
  });
});
위 코드는 items 클래스에 속한 각 상품의 구매 버튼을 클릭했을 때, 해당 상품의 번호를 출력하는 기능을 구현합니다. items 요소들을 가져와서 각각의 구매 버튼에 이벤트 리스너를 추가합니다.
구매 버튼을 클릭하면 해당 상품의 번호를 계산하여 output 요소에 출력합니다.
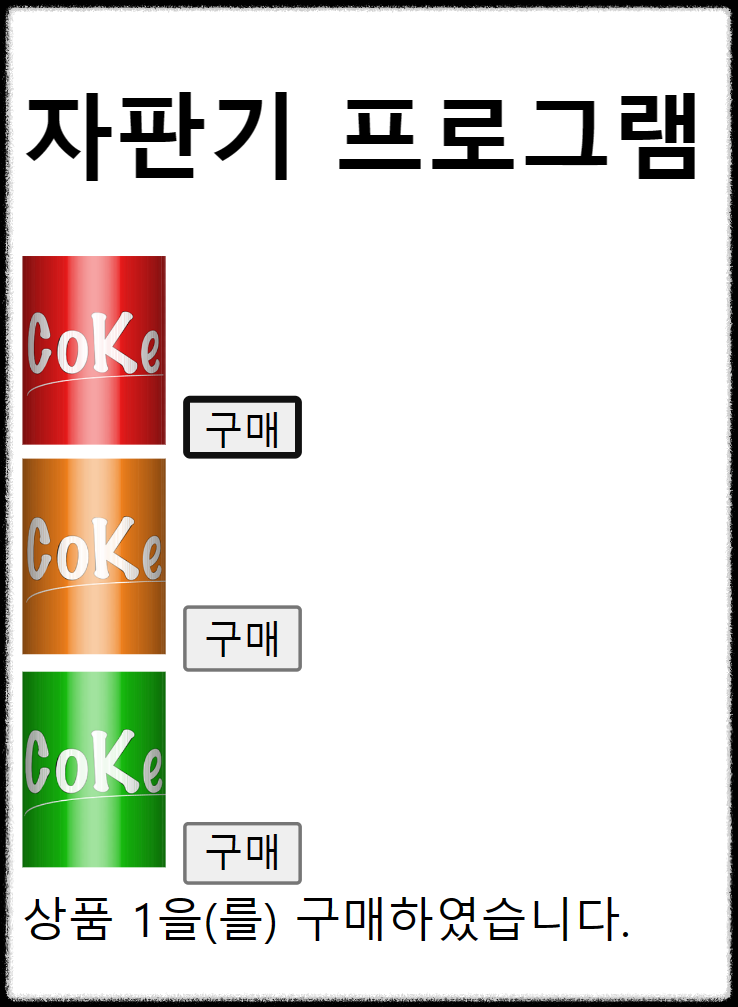
결과 확인
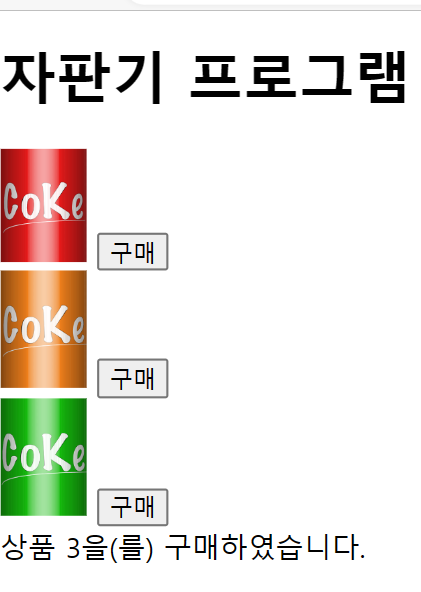
이제 작성한 HTML, CSS, JavaScript 파일을 브라우저에서 실행하여 결과를 확인해볼 수 있습니다. HTML 파일을 열어보면 자판기 프로그램이 나타나고, 상품 이미지와 구매 버튼이 표시됩니다. 각각의 구매 버튼을 클릭하면 결과가 output 요소에 출력되는 것을 확인할 수 있습니다.
[전체코드보기]
|
1
2
3
4
5
6
7
8
9
10
11
12
13
14
15
16
17
18
19
20
21
22
23
24
25
26
27
28
29
30
31
32
33
34
35
36
37
38
39
40
41
42
43
44
45
46
47
48
|
<!DOCTYPE html>
<html lang="en">
<head>
<meta http-equiv="Content-Type" content="text/html; charset=UTF-8">
<meta name="viewport" content="width=device-width, initial-scale=1.0">
<title>자판기 프로그램</title>
<style>
@charset "UTF-8";
/* CSS 코드 생략 */
</style>
</head>
<body>
<div class="container">
<h1>자판기 프로그램</h1>
<div class="items">
<div class="item">
<img src="../../Downloads/item1.png" alt="상품 1" width="50">
<button class="buy-button">구매</button>
</div>
<div class="item">
<img src="../../Downloads/item2.png" alt="상품 2" width="50">
<button class="buy-button">구매</button>
</div>
<div class="item">
<img src="../../Downloads/item3.png" alt="상품 3" width="50">
<button class="buy-button">구매</button>
</div>
</div>
<div id="output"></div>
</div>
<script>
const items = document.querySelectorAll('.item');
const output = document.getElementById('output');
items.forEach((item, index) => {
const button = item.querySelector('.buy-button');
button.addEventListener('click', () => {
const itemNumber = index + 1;
output.textContent = `상품 ${itemNumber}을(를) 구매하였습니다.`;
});
});
</script></body>
</html>
|
cs |
실행화면
결론 및 의견
이상으로, HTML, CSS, JavaScript를 사용하여 간단한 자판기 프로그램을 만드는 방법을 소개해드렸습니다. 이를 기반으로 여러분은 본인만의 자판기 프로그램을 더욱 발전시킬 수 있습니다.
[관련글]
[파이썬(python)] - 파이썬 튜플(Tuple) 사용 방법 및 정리
파이썬 튜플(Tuple) 사용 방법 및 정리
파이썬 리스트(list)와 달리 튜플(tuple)은 일단 생성되면 수정할 수 없으므로 변경해서는 안 되는 데이터를 저장하고 액세스하는 데 이상적입니다. 이 글에서는 Python 튜플의 깊이에 대해 알아보고
coding.2toy.net
[파이썬(python)] - Python 딕셔너리(dictionary) 란?
Python 딕셔너리(dictionary) 란?
Python 프로그래밍의 세계에서 딕셔너리(dictionary)은 개발자가 키-값 쌍을 효율적으로 저장하고 조작할 수 있게 해주는 다재다능하고 강력한 데이터 구조입니다. Python 딕셔너리(dictionary)은 데이터
coding.2toy.net
[파이썬(python)] - 파이썬 리스트(list) 총정리
파이썬 리스트(list) 총정리
Python 프로그래밍 영역에서 리스트(list)은 개발자가 항목 모음을 효율적으로 저장하고 조작할 수 있도록 하는 기본적이고 다양한 데이터 구조입니다. Python 리스트(list)은 정렬된 요소 시퀀스로
coding.2toy.net
파이썬 이란?
프로그래밍 언어의 세계에서 Python은 수년에 걸쳐 엄청난 인기를 얻은 다재다능하고 강력한 도구로 두드러집니다. 1980년대 후반 Guido van Rossum이 만든 Python은 웹 개발 및 데이터 분석에서 인공 지
coding.2toy.net
[html, css, js] - 왜 자바스크립트(JavaScript) 인가?
왜 자바스크립트(JavaScript) 인가?
JavaScript는 웹 개발을 위한 필수 언어가 되었으며 개발자는 상호 작용, 동적 콘텐츠 및 강력한 기능을 웹 사이트에 추가할 수 있습니다. JavaScript를 사용하면 대화형 양식을 만들고, 사용자 입력의
coding.2toy.net
'프로그래밍, 코딩, 컴퓨터 > html, css, js' 카테고리의 다른 글
| HTML 공부 방법 (0) | 2023.07.06 |
|---|---|
| JavaScript 상수 변수 (0) | 2023.07.04 |
| JavaScript 함수 - 코드 재사용성 핵심 (0) | 2023.06.27 |
| 자바스크립트(JavaScript) 변수, 데이터 유형 및 연산자 (0) | 2023.06.26 |
| 왜 자바스크립트(JavaScript) 인가? (0) | 2023.06.25 |